Completing the final stitch on your canvas is such a satisfying moment, but what comes next is just as fun. Finishing is what transforms your needlepoint project from a beautiful stitched piece into something functional, giftable, and display-worthy.
Before you start stitching, it’s helpful to think about how you want to use or display your project. Will it hang on a tree? Sit on a coffee table? Be worn? Your intended use will guide decisions about whether self-finishing or professional finishing is the right path. Read on to learn more about your options and what to consider before making a decision so you can select the perfect finish.
How to choose: self-finishing vs. professional finishing
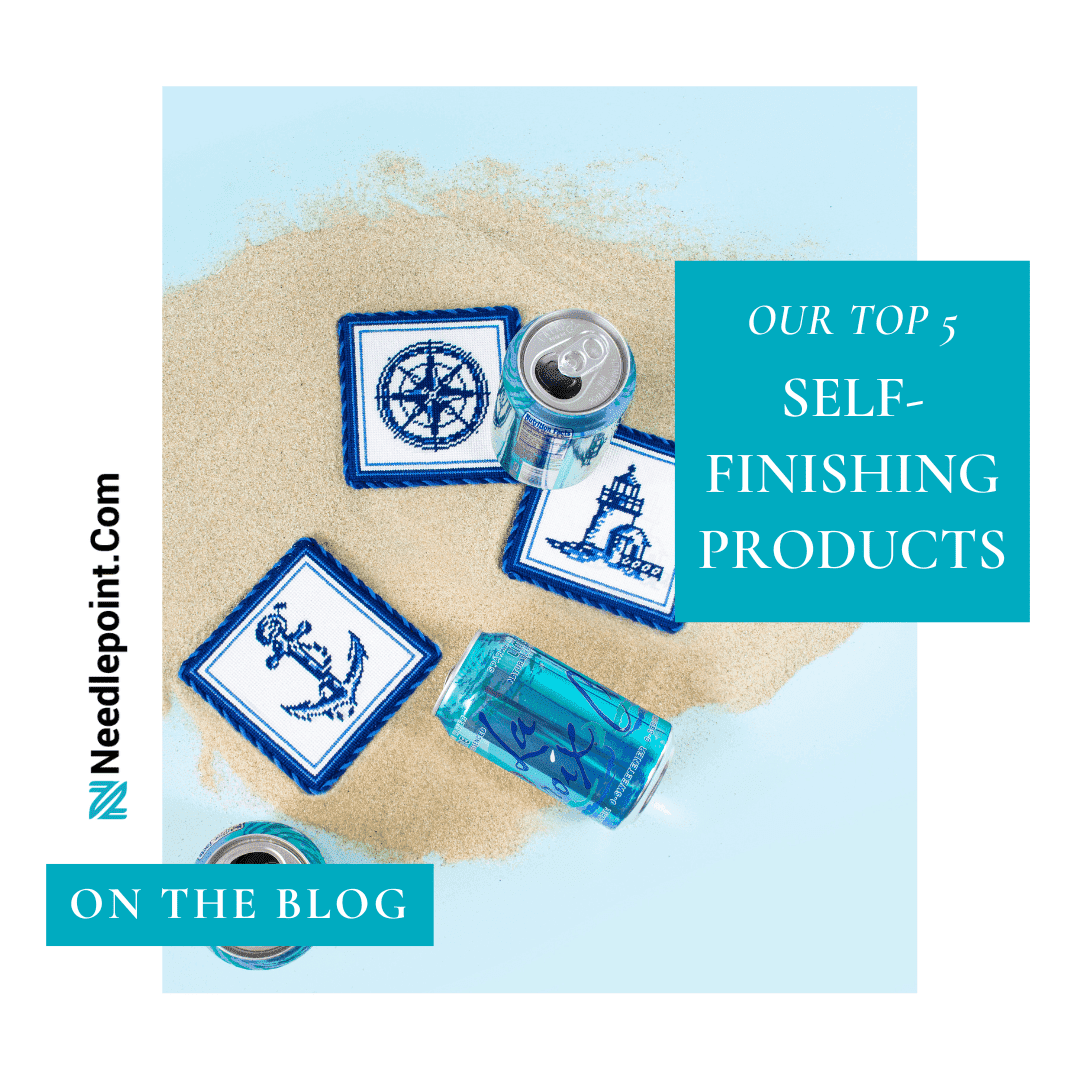
One of the many benefits of choosing a kit or canvas from Needlepoint.Com is the incredible variety of finishing options available. The best part about having so many choices is that your stitched canvas can be transformed into something unique to your personal style. Here are a few popular finishing options to help inspire you:
-
Ornaments - perfect for holidays and seasonal decor
-
Pillows - a classic way to complement your existing home decor with something new
-
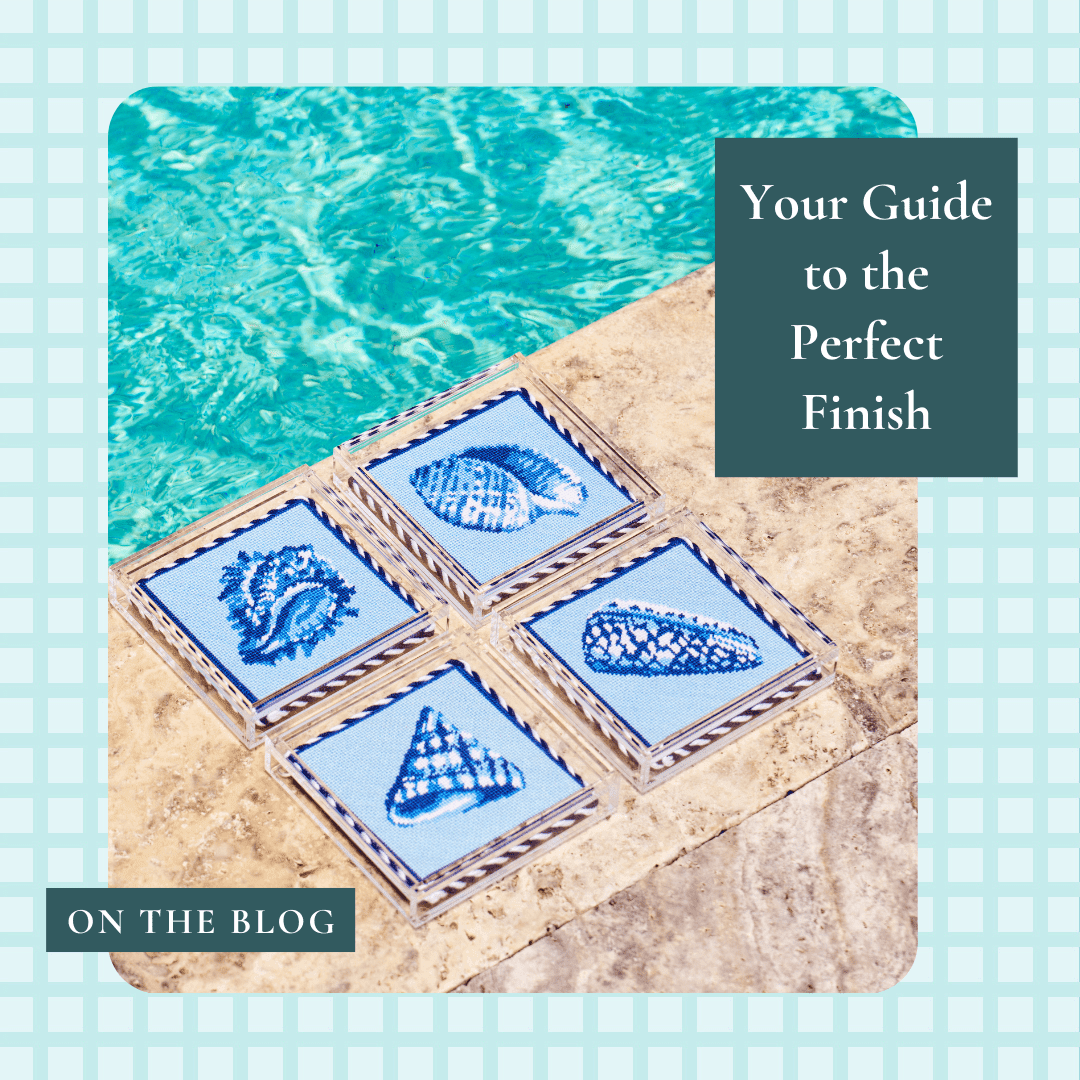
Acrylic trays - interchangeable and functional for coffee tables, nightstands, and more
-
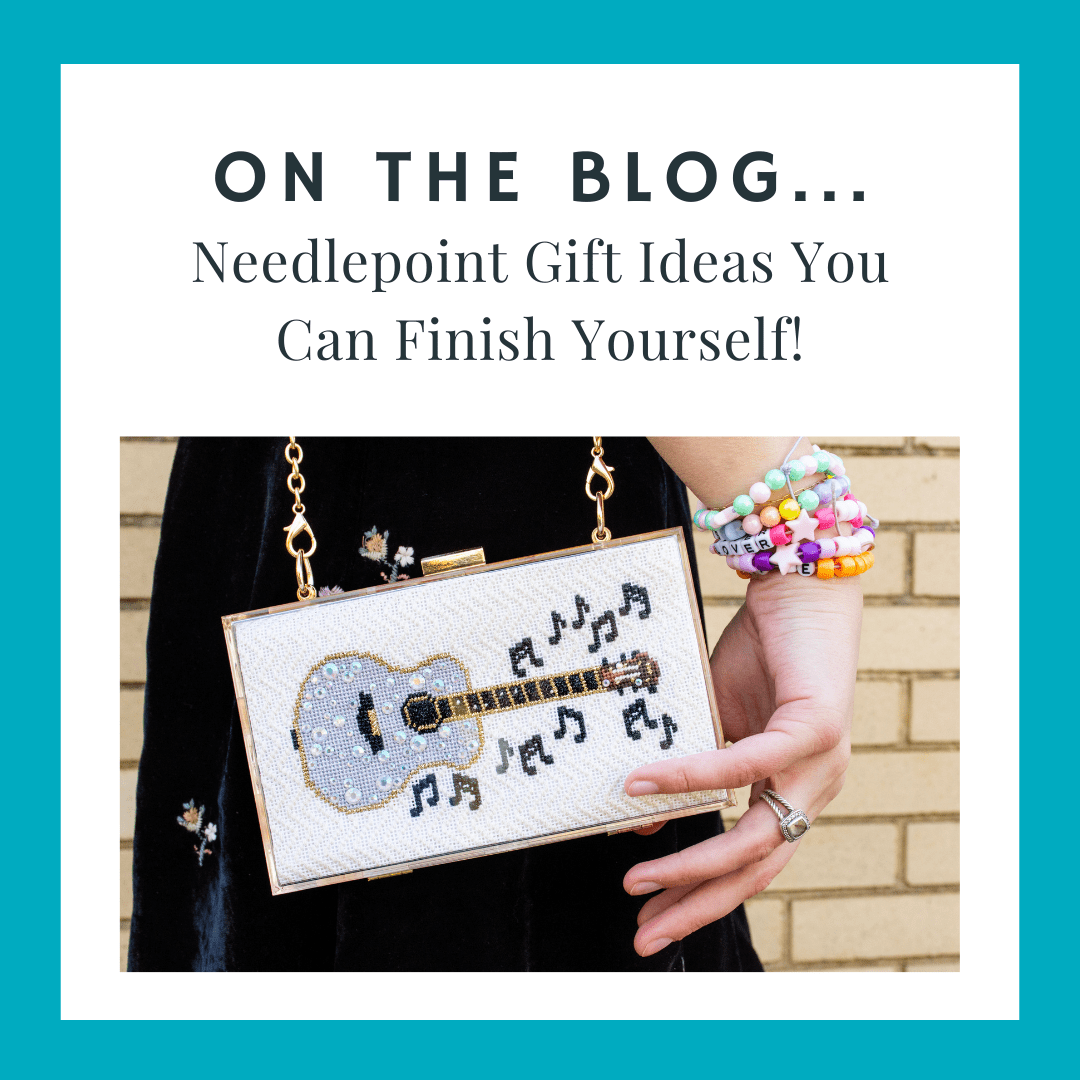
Belts, purses, and clutches - a stylish, wearable way to display your stitching
-
Key fobs - functional and usable daily

Still deciding? We’re here to help by sharing the benefits of both options.
Choose self-finishing if you:
-
Enjoy hands-on projects beyond stitching
-
Are working with a canvas size that fits one of our ready-made products, like leather bag tags, leather accessory bags, or key fobs
-
Love switching out your designs periodically
Choose professional finishing if you:
-
Are finishing a larger, more complex piece
-
Love custom details like cording and specialty backing fabrics
-
Prefer to have one of our experts trim and assemble your stitched canvas
There’s no right or wrong choice. Simply choose the one that best fits your project, skill level, and timeline best.
Tips for self-finishing
If you’ve decided to self-finish, preparation is key. Many smaller projects pair beautifully with our self-finishing products. Keep these tips in mind when you start your project:
-
Make sure to use stretcher bars while stitching or block your canvas before you begin the self-finishing process to ensure your design remains straight and even.
-
When cutting your canvas, leave 2-3 rows of unstitched canvas around your design. You can always trim more later, but you can’t add it back!
-
Measure your piece before cutting to make sure your piece will fit perfectly in your self-finishing product.
-
A blunt object, such as a butter knife, is perfect for pushing the canvas edges underneath the corners of the self-finishing opening.
-
After inserting your canvas into the self-finishing piece, leave a heavy book on it for a few hours to ensure the adhesive connects properly to your canvas.
Explore self-finishing tutorials


Tips for professional finishing
If you prefer to entrust your project to finishing experts, we’re here to help. Sending your piece to the finishing team at Needlepoint.Com ensures careful attention to detail and high-quality craftsmanship. Here’s how to prepare your piece:
-
Complete your stitching and ensure your threads are secured
-
Fill out your finishing form and include drawings or photos if you have specific ideas in mind
-
Place your project inside a plastic bag for extra protection and send it to the following address: Attn: Finishing, Needlepoint.Com, 5955 Core Road, Suite 501, North Charleston, SC 29406
-
Ship using a tracked service so you can monitor delivery
Once your project is received, our finishing team will begin transforming your stitched canvas into a one-of-a-kind piece. The result is incredible!

Explore professional finishing options
Next steps
If you’re curious about both options, choose one for your next project. Then, when that’s complete, opt for a different type of finishing for the next one! You can jump right into it with exciting designs featuring everything from your favorite florals to adorable animals. If you’re looking for inspiration, simply visit the link below to get started.