April 20, 2022

5 Basics for Beginners to Learn About Needlepoint!

Canvases come in different mesh sizes that correspond to the number of stitches (holes) per inch.  Most common are 10 count, 13 count, 14 count and 18 count mesh.   18 count canvases convey a lot of detail while the larger mesh canvases offer a quicker stitch.  (It’s always easy to search our website by mesh count!)
5 Basics for Beginners to Learn About Needlepoint!

Needlepoint has always been a creative outlet offering a satisfying, soothing, and empowering experience for gurus and novices alike. Over the past few years, more and more new stitchers have discovered stitching is quite a relaxing, meditative hobby, and the ability to create something out of nothing is especially rewarding.

If you're ready to dive into the wonderful world of needlepoint and uncover the benefits for yourself, here are five basics for beginners to learn about needlepoint to get started.  At Needlepoint.com, we love to share the joy of stitching and are happy to help you along your stitching journey!

Needlepoint Supplies and Tools

To get started, you’ll need the following essential needlepoint supplies:

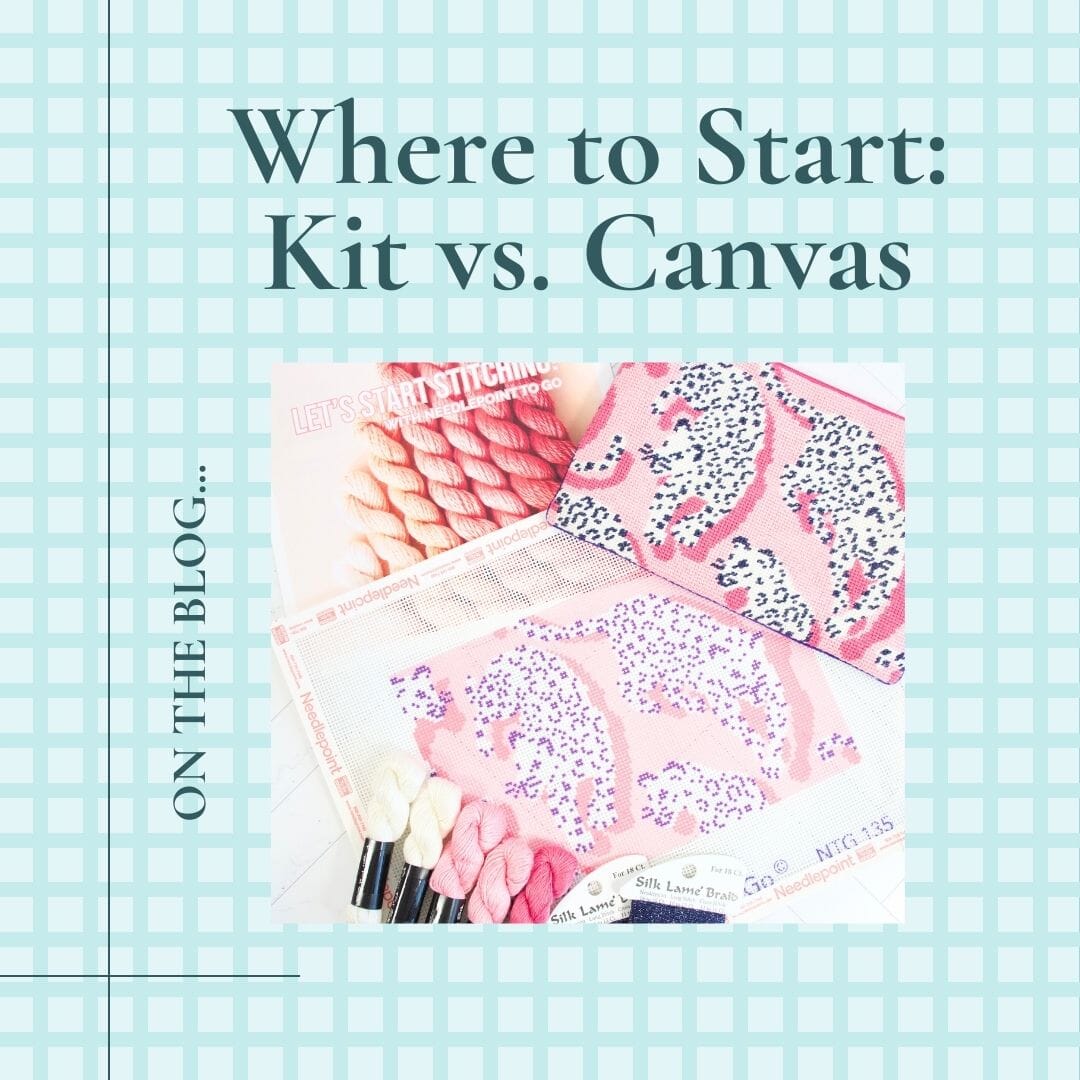
  • Handpainted or precision printed canvas (explore our Needlepoint To Go line for affordable, high quality stitch printed canvases)
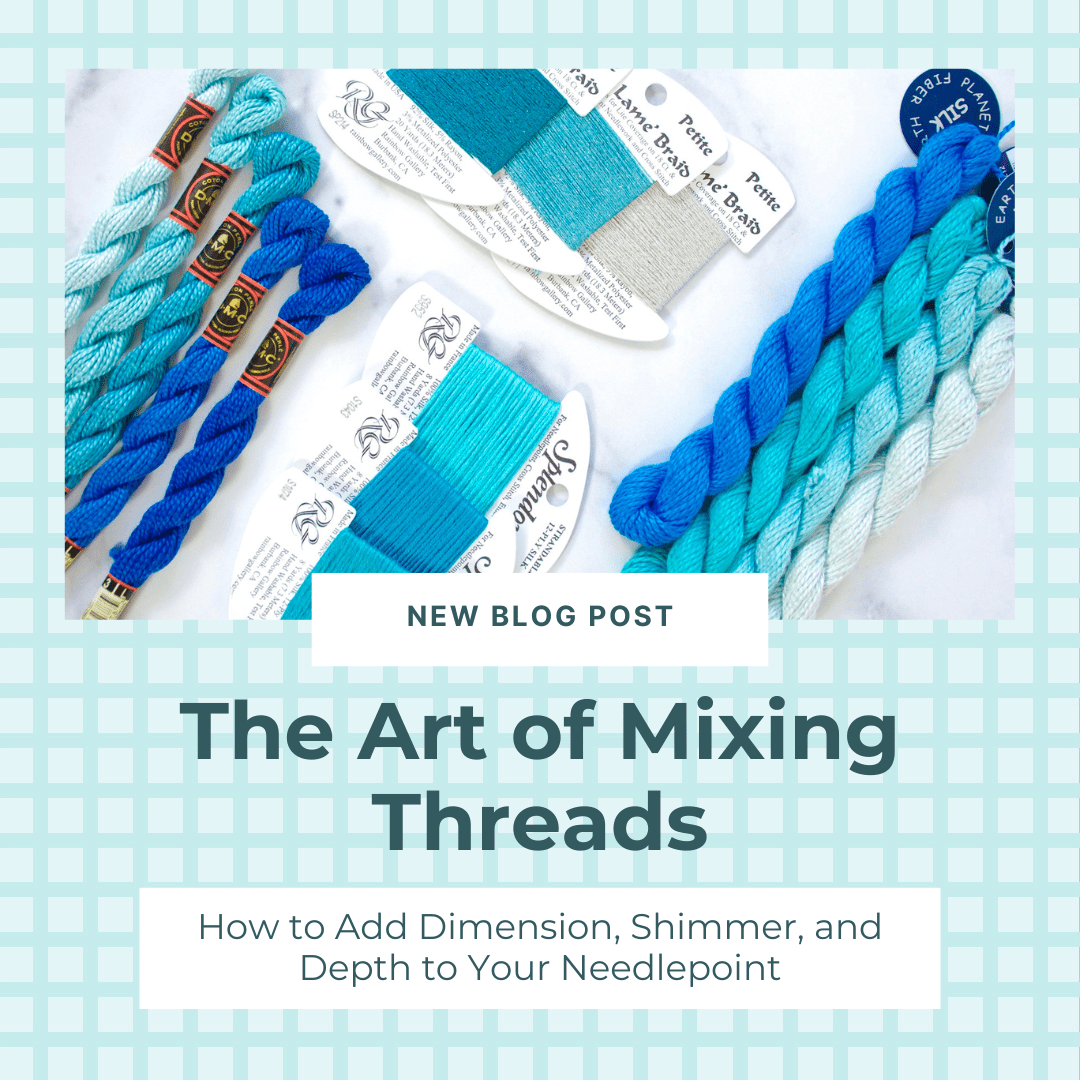
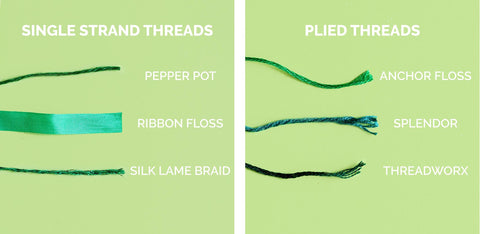
  • Thread that you enjoy working with. There are many options available in cotton, wool, silk and man-made fibers.
  • Tapestry needle (provided with every canvas at Needlepoint.com)
  • Small extra-sharp scissors
  • Project bag to hold all your supplies and keep your canvas and thread protected

Optional:

  • Needle threader
  • Stretcher bars/tacks to secure the canvas (these are optional, but recommended to start)
  • Stitch guide/instructions
  • Laying tool
  • Needleminder/Magnet 
Canvas, Needles & Thread Defined
Canvas:  Canvases come in different mesh sizes that correspond to the number of stitches (holes) per inch.  Most common are 10 count, 13 count, 14 count and 18 count mesh.   18 count canvases convey a lot of detail while the larger mesh canvases offer a quicker stitch.  (It’s always easy to search our website by mesh count!)
Different Canvas Types
Pro Tip:  We recommend starting with a larger mesh count, small number of colors with little or no shading, and a simple design.  Choose something you really love so you’ll be motivated to stitch!
Tapestry Needles:  As with canvases, needles come in different sizes (length and size of the eye) to correlate to the canvas.  Use #20 needles for 13 mesh canvas and #22 for 18 mesh canvas (needles are supplied with every canvas at Needlepoint.com).
Single strand versus plied threads
Thread:  The selection of fibers is seemingly endless, but as with canvas and needles, certain threads correspond to specific mesh size canvases for coverage and stitchability.  The basic categories of threads are silk, wool, cotton and specialty fibers. Threads provide a fun way to create different effects on your canvas (fuzzy fibers for animals, sparkly fibers for crowns, shiny fibers for glass, etc.).  Thread selection will also depend on how you plan to finish your needlepoint as each fiber has varying durability. Ornaments that receive little handling can be stitched in sparkles and more fragile threads. Pillows and belts that will be handled and worn often, should be stitched in wool or cotton for maximum durability.
 
Working with Thread Tips
 
You’ve selected your canvas, have a needle and scissors, and are ready to begin stitching.  Let’s start how to work with your thread:
How to open and cut a skein of yarn:  Thread either comes on a card or in a skein, which is a twisted loop of yarn.  To open the skein, cut the knot at the bottom of the tag, which is often placed at the top of the twisted loop.  (This is helpful as it leaves a little yarn on the tag so you’ll be able to match the color with the name, type, number and dye lot in the future.)  Unwind and gently pull the skein apart so it is one large loop of yarn.  Cut through all of the threads at the top and bottom of this loop and you’ll have appropriately sized lengths of thread to stitch with.  To store your thread, gather the cut thread in one group and knot loosely.
How long to cut your thread:  If working with a skein, use the method above to yield the appropriate length to stitch with.  If your thread is on a card, cut a piece approximately 18” long or the length from your finger to your elbow.  When using specialty fibers such as velvet or metallics, work with shorter lengths of 6 to 8 inches to prevent fraying. 
Strand v. Ply:  When separating thread from a skein or a card, the single piece you cut is a strand.  Some fibers have strands that are made up of individual plys of thread, such as DMC floss or Splendor silk.  If the thread comes in plys, refer to our helpful “Thread Information” sheet to help you select the appropriate number of plys for your canvas. This information sheet is included with every canvas you ask us to kit. If you purchase a kitted project that includes a stitch guide, the thread and ply information will be included in the stitch guide. It is important to separate each ply and put them back together before stitching to help the thread lay flat and stitch in smoothly.  If your thread comes in a single strand and can not be plied (e.g. Silk & Ivory, Vineyard Silk, DMC Perle Cotton), you’re ready to thread your needle and stitch!

    Let’s Stitch!

    Threading your needle by folding your thread in half

    Threading your needle:  The easiest way is to fold the thread in half and push the fold through the eye of the needle. Some stitchers prefer to work with a needle threader and you can add one to your order if you find that method more convenient.

    Creating a waste knot and stitching towards it on blank canvas

    Creating a waste knot:  Tie a small knot at the end of the thread opposite the needle.  About an inch from where you wish to begin, pull your needle down into the canvas from the front so the waste knot sits on top of the canvas.  Put your first stitch in and continue stitching toward the knot. You will be stitching over the tail on the back of the canvas thereby securing the thread underneath. When you reach the knot, simply cut it off and continue stitching.

    Where to start/stop on the canvas:  Start in an area large enough to get comfortable with your stitch, like the background.  If you’re right-handed, start in the upper right-hand corner of the canvas as the tent stitch (detailed below) will work across and down or on a downward diagonal.  If you’re left-handed, start in the lower left-hand corner.  To end your thread, flip the canvas over while the needle and thread are on the back.  Run the needle through several stitches to secure the thread and trim the excess.

    The Basic Needlepoint Stitch: Tent Stitch

    The most traditional stitch that beginners should learn is the tent stitch. Tent stitches are small, diagonal stitches most commonly used in needlepoint and are ideal for capturing details on a canvas.  The two tent stitches we recommend learning are continental and basketweave.  These stitches look the same on the front of the canvas, but appear different on the back.

    Tent Stitch & Reverse Tent Stitch Diagram

    The Continental Stitch

    Working a tent stitch in a continental manner—back and forth in rows—creates an equally padded reverse side. Many consider this stitch the most versatile and durable option. Yet, needlepoint beginners should keep the stitch tension even to provide the best coverage in outlines and fine details. Use in larger areas can end up warping the canvas if not cautious.

    Basketweave Stitch Diagram

    The Basketweave Stitch

    Basketweave is worked in neat diagonal rows and is ideal for larger background areas. This stitch will create a strong woven backing that resembles a basket while providing good coverage and minimal canvas warp. 

    Bonus:  Pro Tips

    • Stitch the lighter colors in your project first. This prevents the darker colors from being pulled through and rubbing off or creating shadows on the light thread.
    • Needlepoint is similar to a paint-by-numbers set, but with thread instead of paint.  You stitch the thread exactly where the color appears on the canvas. 
    • Save your thread labels!  Keep the thread card/tag with the fiber so you know the color, number and dye lot in case you need more. If you have leftover thread, you can use the remainder for a future project.  Keep your threads tidy in bags or small boxes so they don’t become a tangled mess.
    • When the canvas is complete, hold your project up to the light to check for missed stitches. Fill in where needed before you have your piece professionally finished.
    • When it’s ready for professional finishing, send your piece back to Needlepoint.Com and we’ll have one of our experts turn it into the ornament, pillow, belt, purse, or other item that you’re dreaming of. 
    • Needlepoint is meant to be fun and relaxing, so remember to enjoy yourself!

    Shop Online for Your Next Project

    Check out our “How to Needlepoint” online class along with our large selection of needlepoint kits that have everything you need to start stitching (except the optional extras listed above).  When you’re ready to expand your stitch repertoire, look to our “Introduction to Decorative Stitches” online class and learn 15 new stitches.  Be sure to explore our cutting-edge Needlepoint To Go line, which offers a variety of beautiful designs for novice and experienced stitchers alike.  Happy Stitching!

    Related Post

    Where to Start: Kit vs. Canvas
    New!

    Inspiration

    Where to Start: Kit vs. Canvas

    Starting a new hobby is exciting - but with needlepoint, one of the first questions many stitchers ask is: Should I buy a kit or a canvas? Both are wonderful...
    Needlepoint Storage and Organization Hacks
    New!

    Inspiration

    Needlepoint Storage and Organization Hacks

    If you love needlepoint, you know how quickly threads, canvases, and accessories can take over your crafting space. Staying organized doesn’t just save time—it makes stitching more enjoyable, lets you...
    The Art of Mixing Threads: How to Add Dimension, Shimmer, and Depth to your Stitching

    Inspiration

    The Art of Mixing Threads: How to Add Dimension,...

    One of the best things about needlepoint is the ability to personalize your project, and that goes beyond color or design. By mixing different types of threads, you can add...