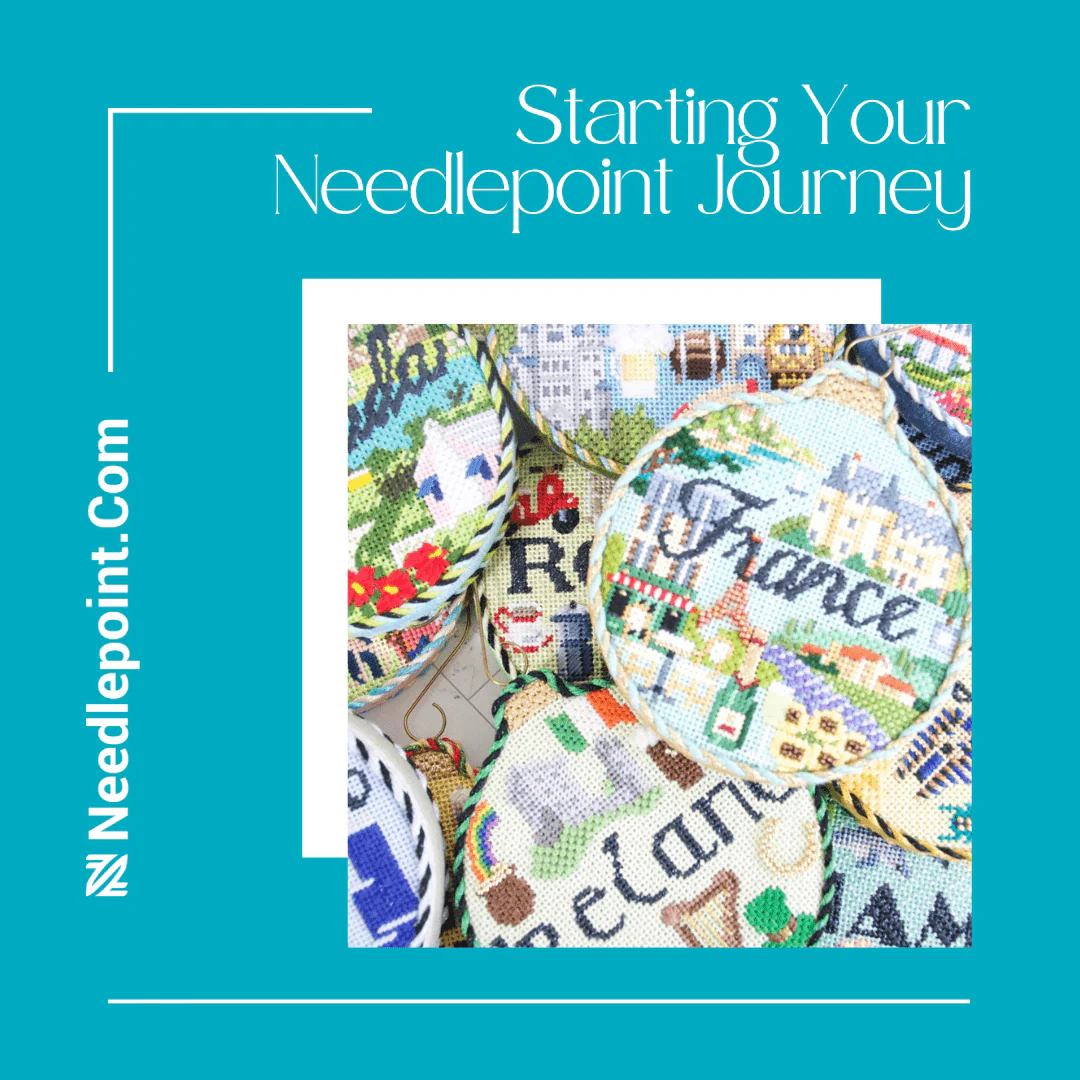
Needlepoint has always been a creative outlet offering a satisfying, soothing, and empowering experience for gurus and novices alike. Over the past few years, more and more new stitchers have discovered stitching is quite a relaxing, meditative hobby, and the ability to create something out of nothing is especially rewarding.
If you're ready to dive into the wonderful world of needlepoint and uncover the benefits for yourself, here are five basics for beginners to learn about needlepoint to get started. At Needlepoint.com, we love to share the joy of stitching and are happy to help you along your stitching journey!Needlepoint Supplies and Tools
To get started, you’ll need the following essential needlepoint supplies:
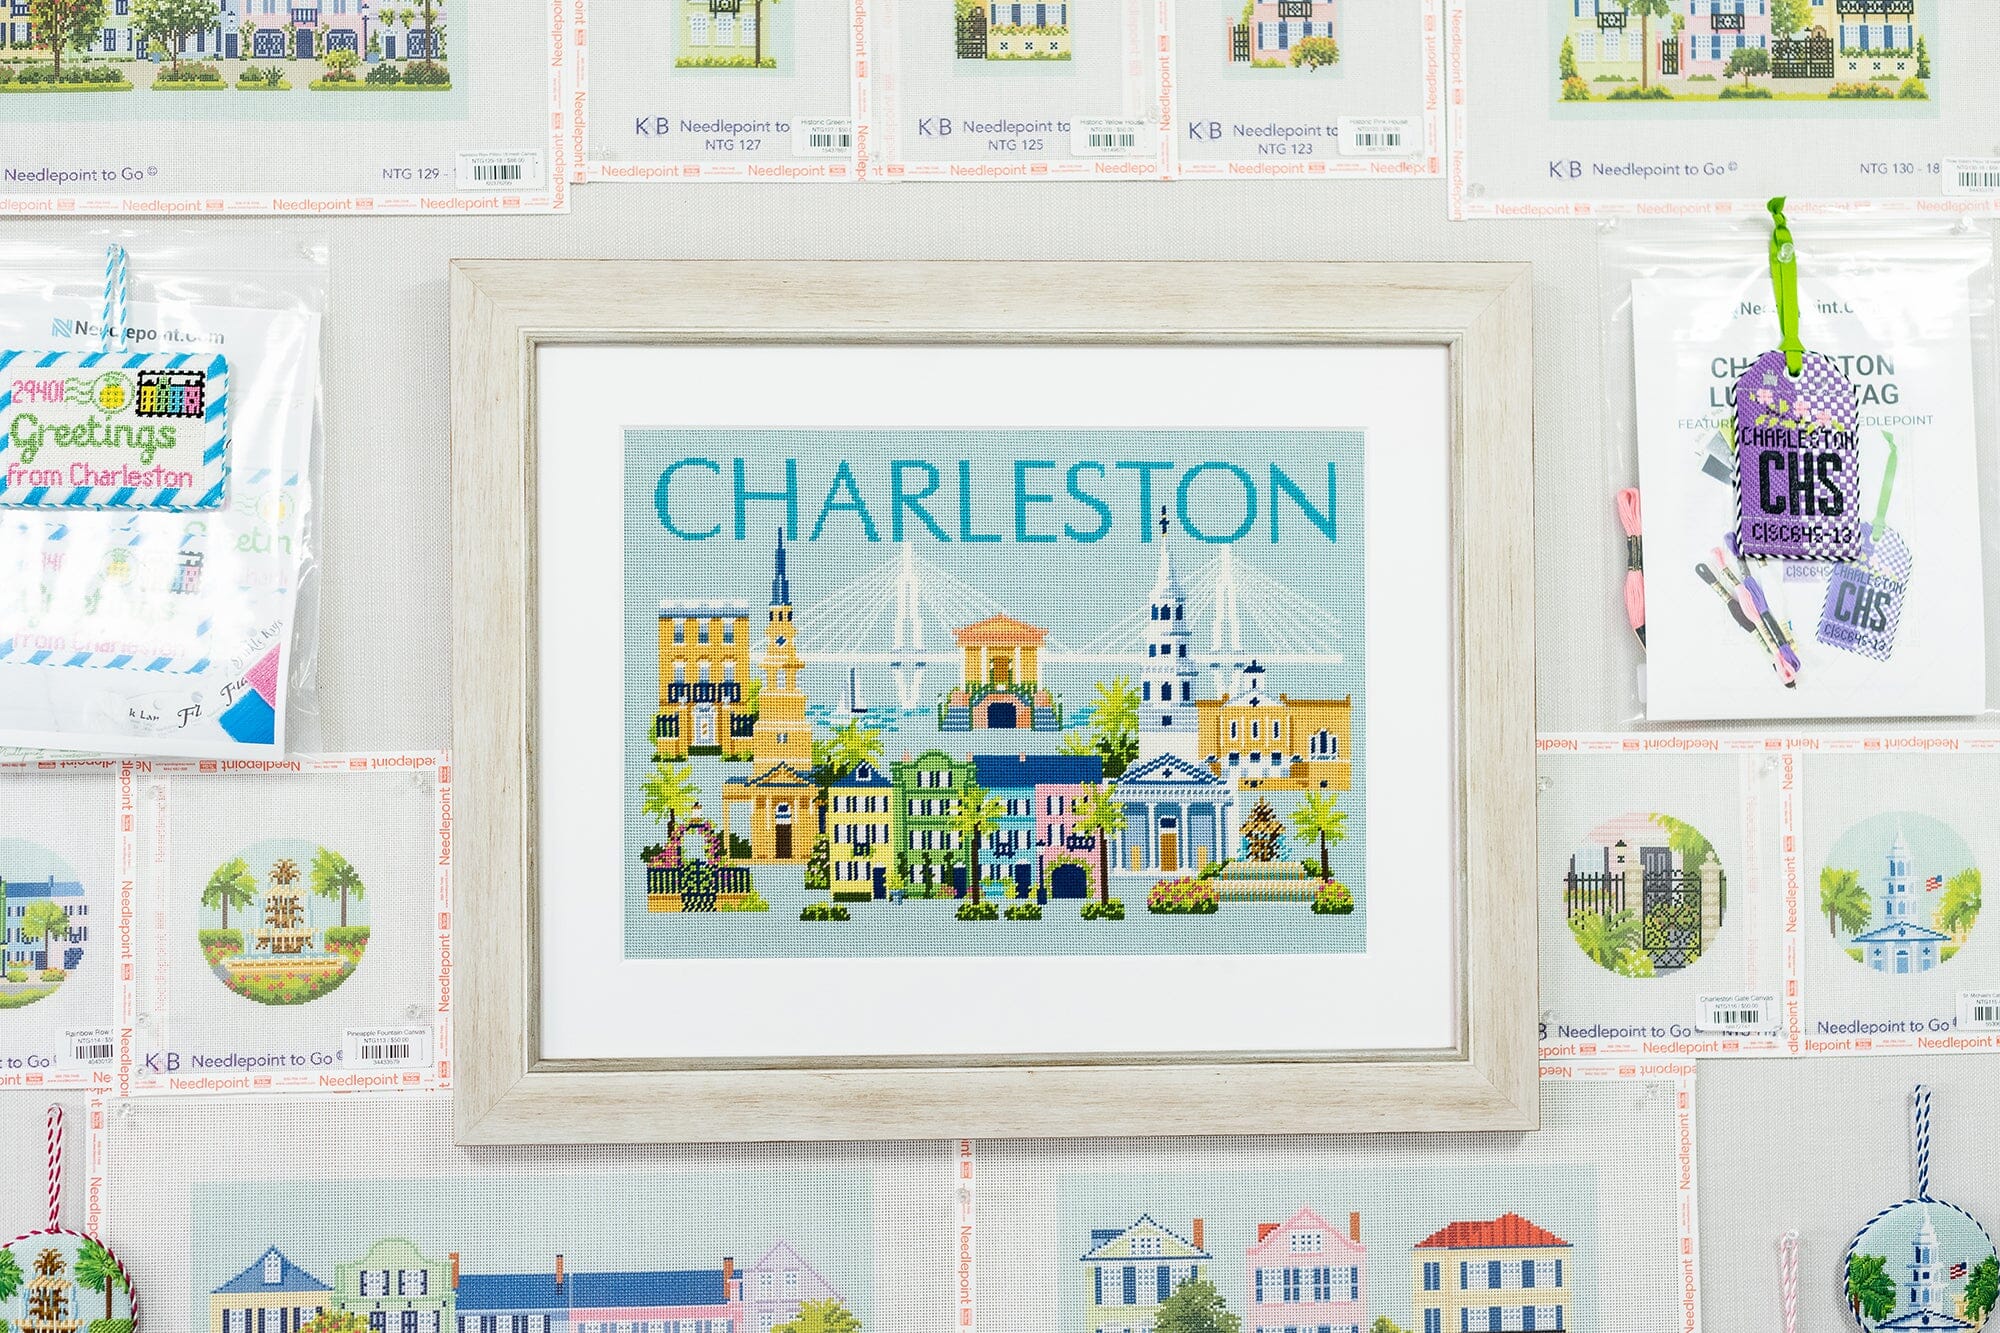
- Handpainted or precision printed canvas (explore our Needlepoint To Go line for affordable, high quality stitch printed canvases)
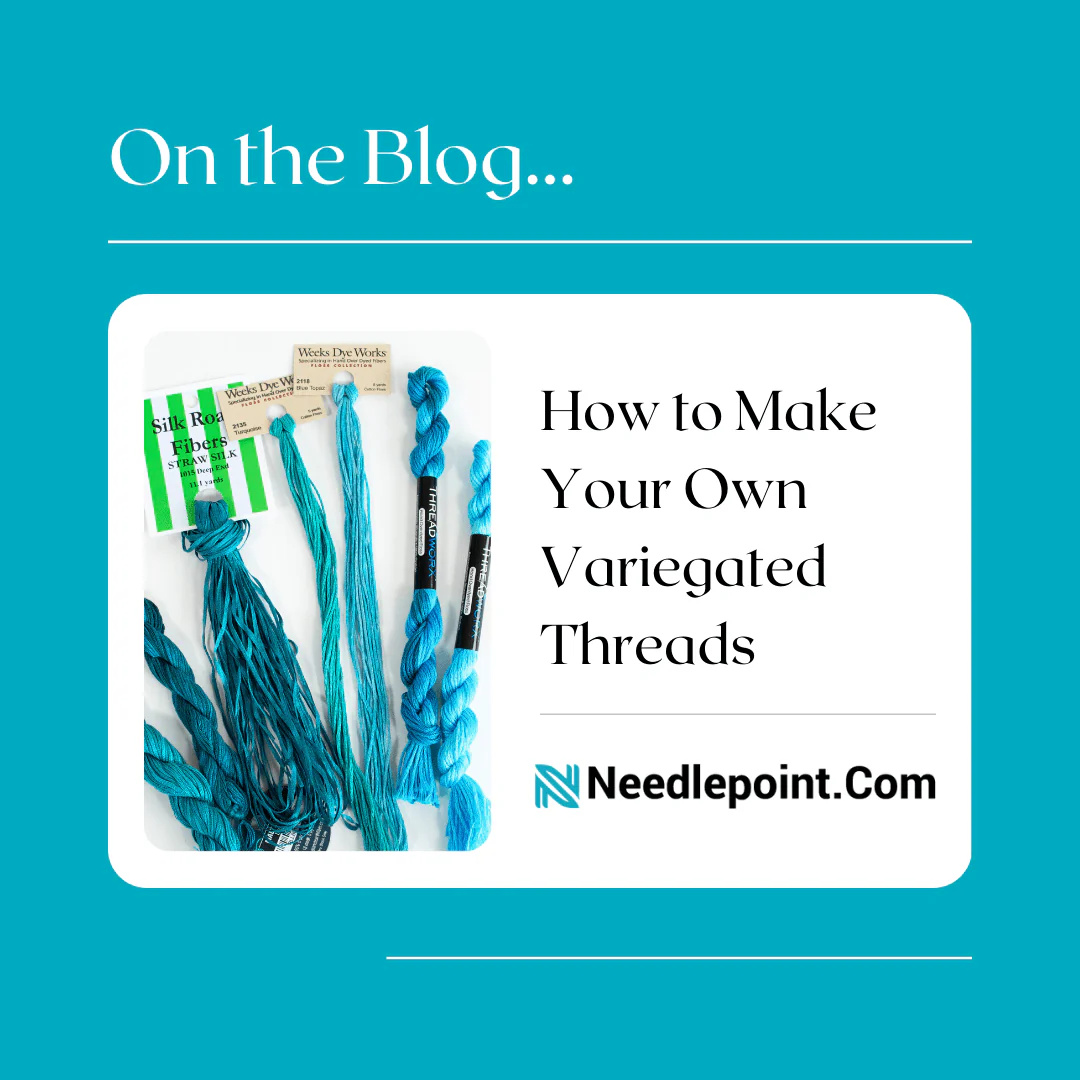
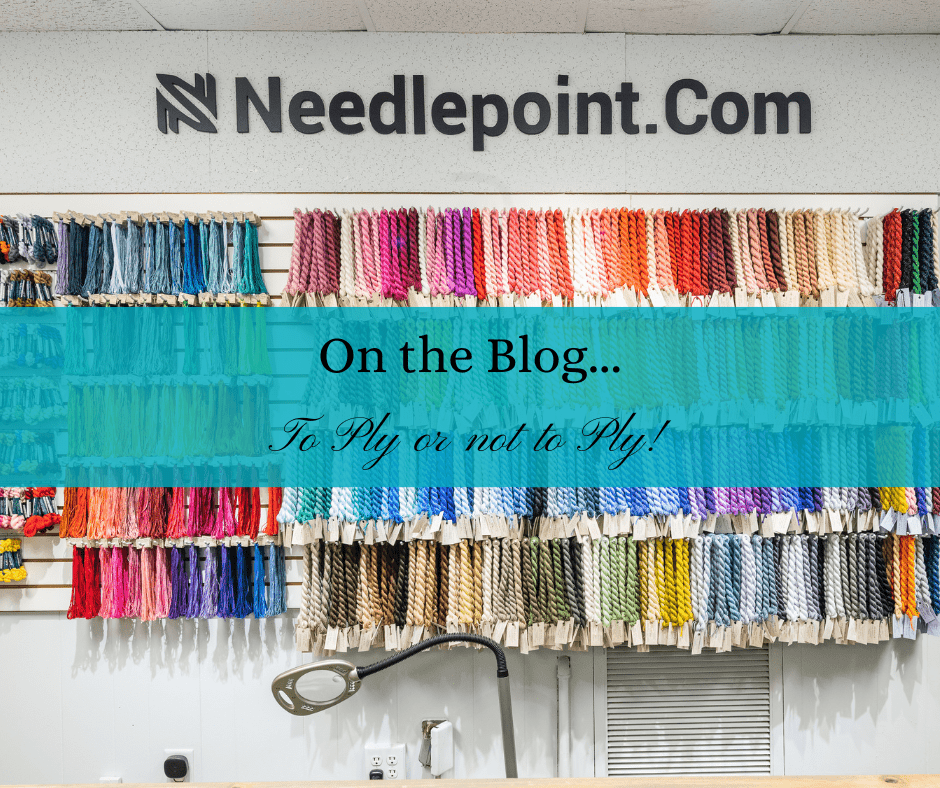
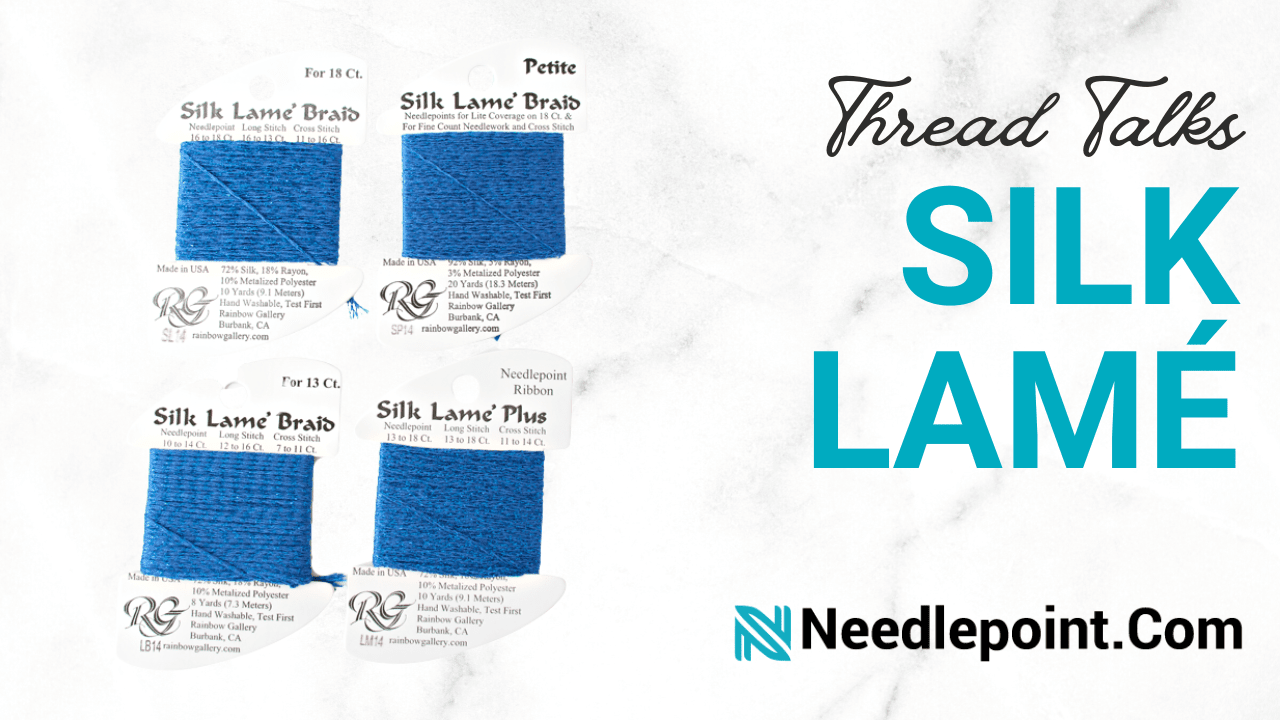
- Thread that you enjoy working with. There are many options available in cotton, wool, silk and man-made fibers.
- Tapestry needle (provided with every canvas at Needlepoint.com)
- Small extra-sharp scissors
- Project bag to hold all your supplies and keep your canvas and thread protected
Optional:
- Needle threader
- Stretcher bars/tacks to secure the canvas (these are optional, but recommended to start)
- Stitch guide/instructions
- Laying tool
- Needleminder/Magnet


Let’s Stitch!

Threading your needle: The easiest way is to fold the thread in half and push the fold through the eye of the needle. Some stitchers prefer to work with a needle threader and you can add one to your order if you find that method more convenient.

Creating a waste knot: Tie a small knot at the end of the thread opposite the needle. About an inch from where you wish to begin, pull your needle down into the canvas from the front so the waste knot sits on top of the canvas. Put your first stitch in and continue stitching toward the knot. You will be stitching over the tail on the back of the canvas thereby securing the thread underneath. When you reach the knot, simply cut it off and continue stitching.
Where to start/stop on the canvas: Start in an area large enough to get comfortable with your stitch, like the background. If you’re right-handed, start in the upper right-hand corner of the canvas as the tent stitch (detailed below) will work across and down or on a downward diagonal. If you’re left-handed, start in the lower left-hand corner. To end your thread, flip the canvas over while the needle and thread are on the back. Run the needle through several stitches to secure the thread and trim the excess.
The Basic Needlepoint Stitch: Tent Stitch
The most traditional stitch that beginners should learn is the tent stitch. Tent stitches are small, diagonal stitches most commonly used in needlepoint and are ideal for capturing details on a canvas. The two tent stitches we recommend learning are continental and basketweave. These stitches look the same on the front of the canvas, but appear different on the back.

The Continental Stitch
Working a tent stitch in a continental manner—back and forth in rows—creates an equally padded reverse side. Many consider this stitch the most versatile and durable option. Yet, needlepoint beginners should keep the stitch tension even to provide the best coverage in outlines and fine details. Use in larger areas can end up warping the canvas if not cautious.

The Basketweave Stitch
Basketweave is worked in neat diagonal rows and is ideal for larger background areas. This stitch will create a strong woven backing that resembles a basket while providing good coverage and minimal canvas warp.
Bonus: Pro Tips
- Stitch the lighter colors in your project first. This prevents the darker colors from being pulled through and rubbing off or creating shadows on the light thread.
- Needlepoint is similar to a paint-by-numbers set, but with thread instead of paint. You stitch the thread exactly where the color appears on the canvas.
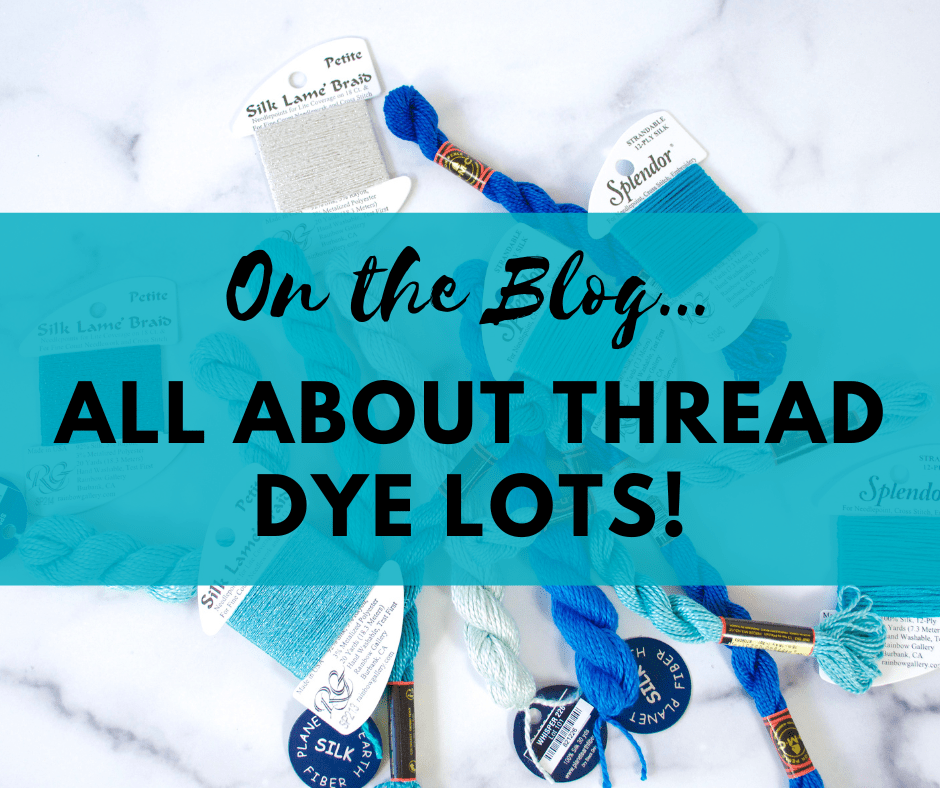
- Save your thread labels! Keep the thread card/tag with the fiber so you know the color, number and dye lot in case you need more. If you have leftover thread, you can use the remainder for a future project. Keep your threads tidy in bags or small boxes so they don’t become a tangled mess.
- When the canvas is complete, hold your project up to the light to check for missed stitches. Fill in where needed before you have your piece professionally finished.
- When it’s ready for professional finishing, send your piece back to Needlepoint.Com and we’ll have one of our experts turn it into the ornament, pillow, belt, purse, or other item that you’re dreaming of.
- Needlepoint is meant to be fun and relaxing, so remember to enjoy yourself!
Shop Online for Your Next Project
Check out our “How to Needlepoint” online class along with our large selection of needlepoint kits that have everything you need to start stitching (except the optional extras listed above). When you’re ready to expand your stitch repertoire, look to our “Introduction to Decorative Stitches” online class and learn 15 new stitches. Be sure to explore our cutting-edge Needlepoint To Go line, which offers a variety of beautiful designs for novice and experienced stitchers alike. Happy Stitching!


