Needlepoint is a timeless and enjoyable craft that allows you to create beautiful and intricate designs using a simple needle, canvas, and thread. Whether you’re looking to make decorative items for your home or unique gifts for friends and family, needlepoint is a rewarding hobby that anyone can learn. This guide will cover the essential tools, basic stitches, and simple projects to help you get started on your needlepoint journey.

Essential Tools for Needlepoint
Before you begin, you’ll need to gather some essential tools and materials:
- Canvas: Choose a canvas with a mesh count that suits your project. Mesh count is determined by the number of holes per inch on the canvas. 13 count and 18 count are the most common mesh counts in needlepoint. Beginners often start with a 13-mesh canvas because the holes are larger and easier to stitch.
- Needles: Tapestry needles are ideal for needlepoint. They have a blunt tip and a large eye to accommodate the thicker threads used in this craft. Size 18 needles are used for 13 count canvas and size 22 are used for 18 count canvas. Each canvas or kit you order from us comes with the correct size needle for the project you order! If you want an extra stash, shop here.
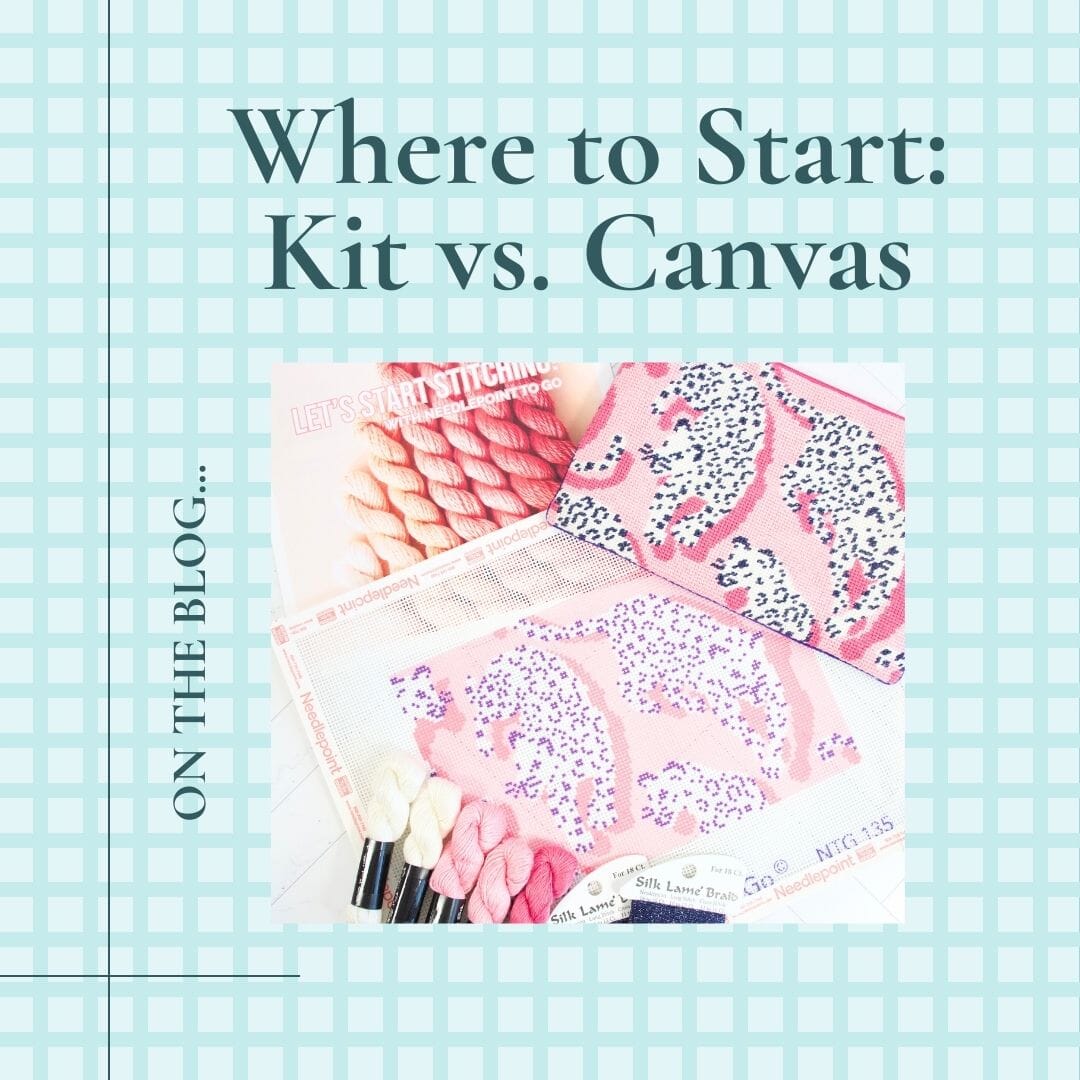
- Threads: Cotton, silk, and wool are popular choices for needlepoint as well as blends. Beginners often start with cotton as it is the more affordable option but others love silk for its ease of stitching and lovely sheen. On our website, you have the option of purchasing a kit which includes all the threads needed for the project or just the canvas itself. When purchasing a canvas, you have the option of adding on threads that we will pick out to make your canvas perfectly. We offer wool/wool blends, cotton, silk/silk blends, or pick our favorites.
- Embroidery Scissors: Small, sharp scissors are essential for cutting threads accurately without accidentally snipping the canvas. Here's some of our favorites.
- Stretcher Bars: Stretcher bars are a personal preference when stitching but help to keep your canvas taut while you work, making it easier to stitch. They reduce warping while you stitch and give you something that is easier to hold on to. Your stretcher bars should make up to the length and width of your canvas (ex. 2 sets of 8" stretcher bars for an 8" by 8" canvas) If your canvas is between two sizes, always size down. You can shop stretcher bars here or add them on to any canvas or kit purchase.
- Project Bag: Project bags are 100% optional but are a great way to keep your threads tidy and prevent tangling. Shop out favorites here.
- Needleminder: Needleminders are another optional accessory but are helpful for keeping track of your needle while stitching. We have a range of fun decorative needleminders or you can also use our simple square magnets that will get the job done just as well. Shop our needleminders here.
Basic Stitches for Needlepoint
Learning a few basic stitches is essential for creating beautiful needlepoint designs. The foundational stitch for needlepoint is the Tent Stitch. Here's a look at the two version of Tent - Continental and Basketweave.
1. Continental Stitch

The continental stitch, also known as the tent stitch, is one of the most basic and commonly used stitches in needlepoint.
- After securing your waste knot, begin by holding the needle under the canvas. You can start stitching anywhere on the canvas you like, but we recommend starting in the upper right hand corner of a large area of color.
-
Begin with a single stitch coming up from the back of the canvas to the front in the lower left hand hole of the canvas intersection.
- Next, cross diagonally over the canvas intersection and sink your needle into the hole in the upper right hand corner. This will bring your needle and thread back down in the back of the canvas.
- Once you have placed your first stitch, move directly to your left and repeat the process again. Come up through the bottom of your canvas and cross diagonally to the upper right hole, until you have stitched as far as you can from right to left in a horizontal row.
-
When you have stitched as far as you can from right to left, we will begin working back from left to right. Pay attention here, as our stitch is going to change ever so slightly. When working back, your stitch will go from the upper right hand corner of the canvas intersection, downwards to the lower left. You will be coming up in a hole that already has thread in it. This may seem wrong at first, but it isn’t.
-
When you run out of thread, secure the thread to the back of the canvas by running it through the back of your stitching. If you hit the edge of your colored area first, follow the diagram above and place your next stitch directly below your last one.
2. Basketweave Stitch
Basketweave stitch is recommended whenever possible. It looks similar to the contintental/tent stitch on the front of the canvas; however, as you stitch, you will notice the stitches on the backside of your canvas form a basket-like pattern. This keeps your canvas stable and prevents it from warping as you stitch.
In basketweave, you want to “slide down the poles and step up the steps.” If you look closely at a needlepoint canvas, you can see that the canvas threads weave over and under each other. This creates “poles” and “steps”. Poles are made up of the vertical threads, and steps are made up of the horizontal threads. Whichever thread is on top of the intersection determines if you are looking at a pole or step.
When stitching over a diagonal line of poles, your stitches will move down the canvas. When stitching over a diagonal line of steps, your stitches will move up the canvas.


Instructions:
-
Determine where you are starting on your canvas and if it's a pole or step. In our diagram the first step is over a step.
- Bring your needle up in 1 and down in 2. Move down to the next row which are poles so you would move diagonally down the row. Bring your needle up in 3 and down in 4. Move down diagonally and bring your needle up in 5 and down in 6.
- The next row is made up of steps so you would work back up the row diagonally. Bring your needle up in 7 and down in 8. Move up diagonally to the next step. Bring your needle up in 9 and down in 10. Continue stitching in this way.
- Continue this diagonal pattern, moving from right to left, and then left to right as you move down the canvas.
Simple Needlepoint Projects for Beginners
Now that you have your tools and know some basic stitches, you can start with simple projects to practice your skills. Here are a few ideas:
1. Coasters
Coasters are a practical and straightforward project for beginners. Choose a small design and practice your stitches on a square canvas. Once finished you can send back to us to be finished into a hardback cookie to fix into an acrylic coaster.

2. Ornaments
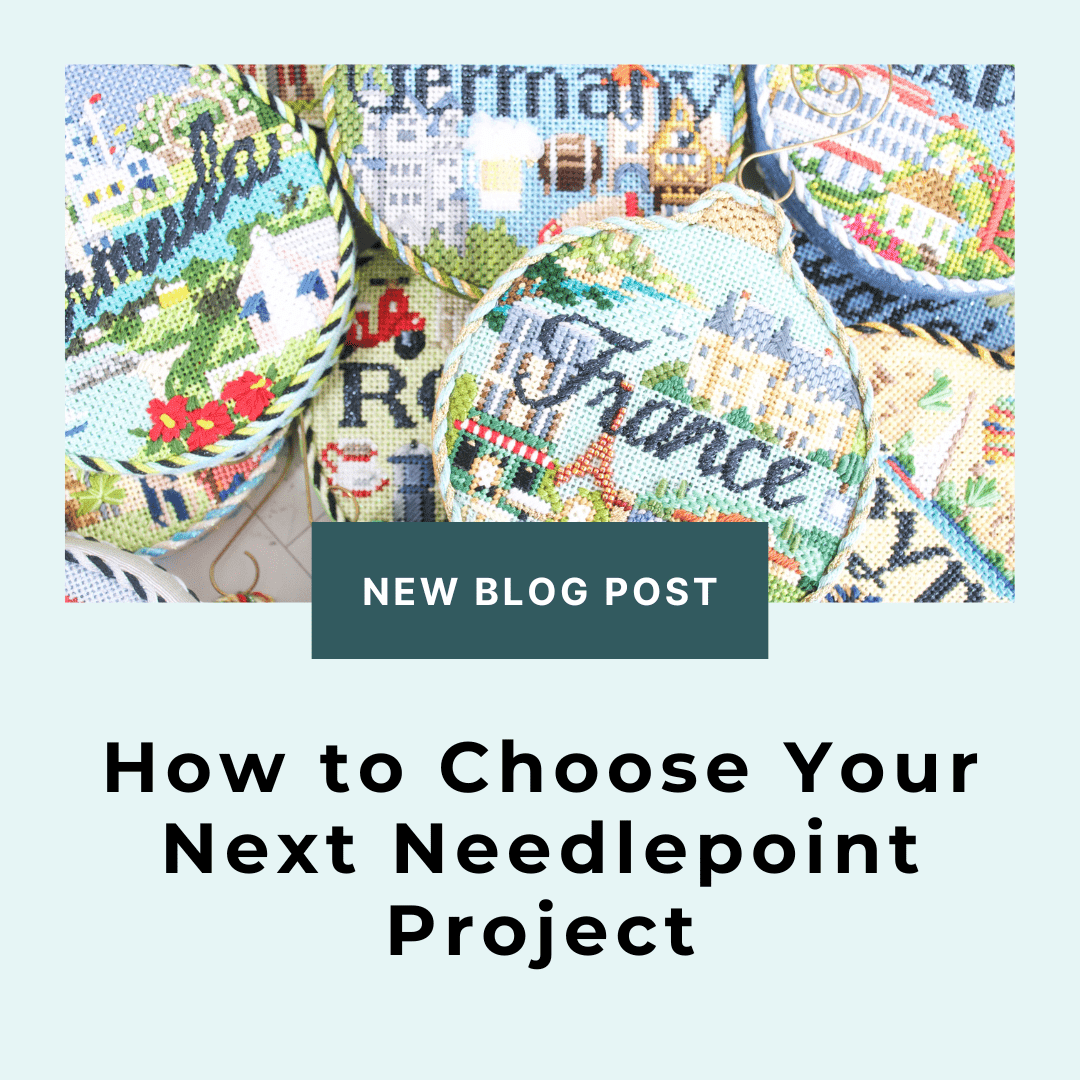
Creating ornaments is a fun way to practice needlepoint while making something decorative. Choose festive designs and stitch them onto small pieces of canvas.

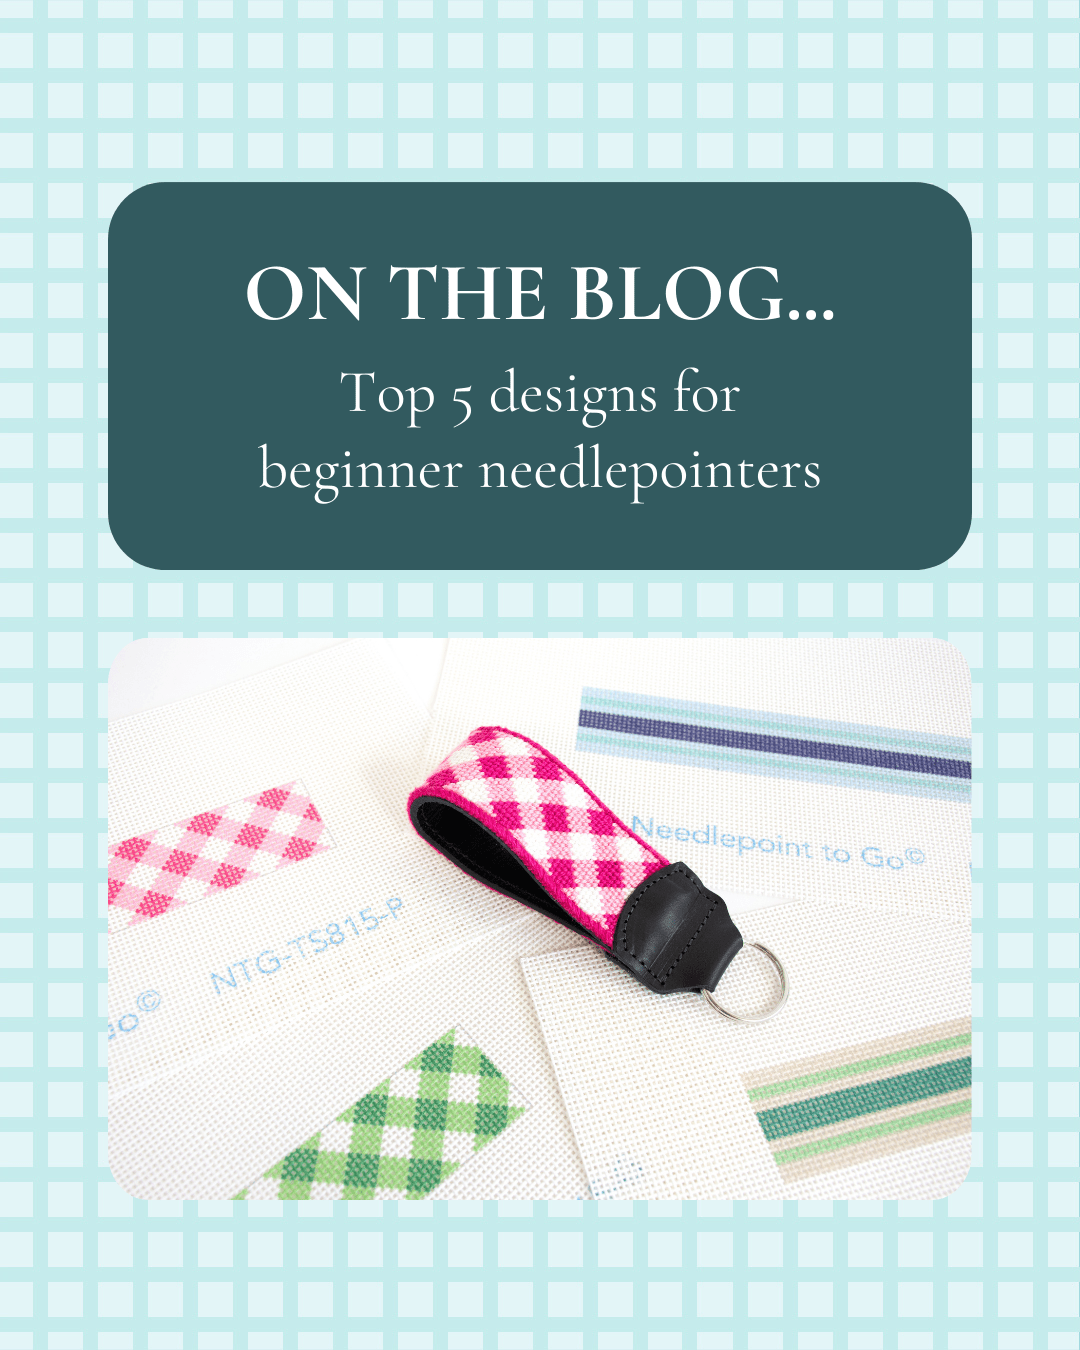
3. Keyfobs
Keyfobs are a fun project that will be turned into something you'll use every day! Customize with your monogram or a fun leather color.

4. Luggage Tags
Luggage tags are another quick and beginner friendly project that will show off your handy work every day! Choose your favorite leather color and finish yourself with our self-finishing tags.

Tips for Needlepoint Beginners
- Start Small: Begin with small projects with only a few different colors and a more simple design to build your confidence and skills before tackling larger, more complex designs.
- Be Patient: Needlepoint requires patience and practice. Don’t rush; take your time to ensure even stitches.
- Use a Light Touch: Avoid pulling your thread too tightly, which can distort the canvas.
- Stay Organized: Keep your threads and tools organized to make your needlepoint experience more enjoyable.


