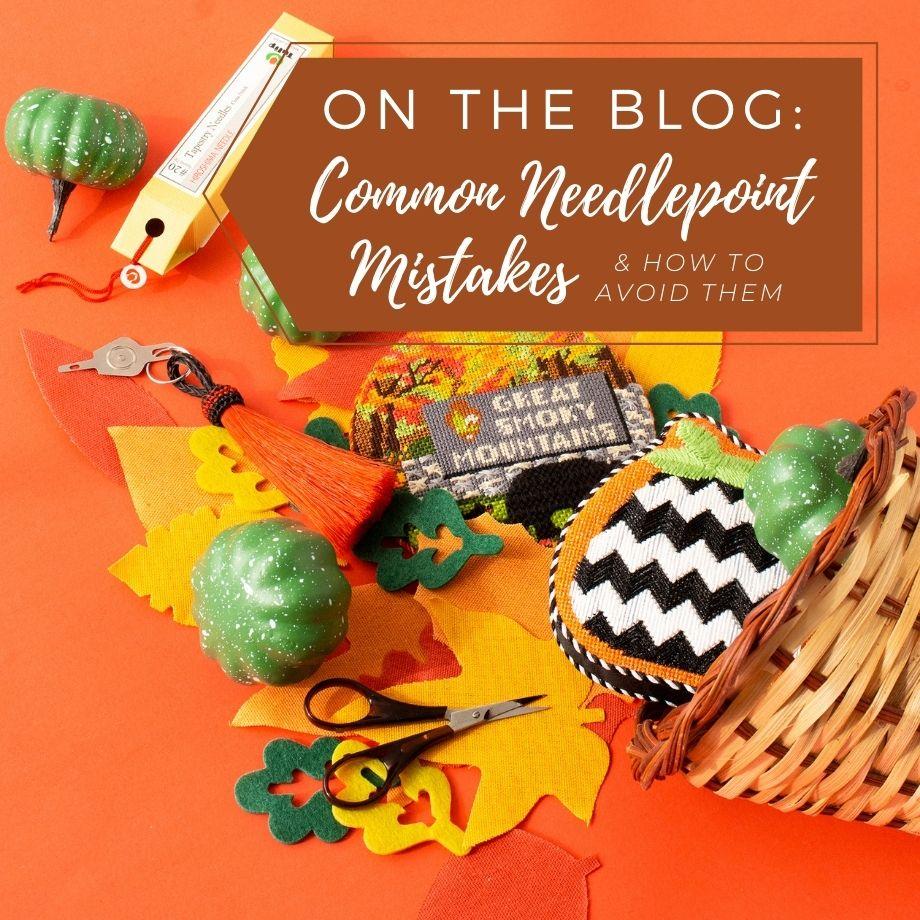
Regardless of whether you’re a beginner stitcher or advanced at needlepoint, you may run into mishaps. Understanding common needlepoint mistakes and how to avoid them is key to mastering the craft. Follow these tips to improve your work.
Canvas Puckering
You may notice your canvas puckering if it isn’t fitted into stretcher bars. As you stitch, the canvas may deform further, warping your design. To fix this problem, adjust your canvas so that it’s tight at every edge. Additionally, using stretcher bars is a great way to make sure your canvas does not distort or change shape based on your stitching.
Tight Stitches
You might experience puckering around your stitches if you’re making them too tight. Use your needle to loosen them gently so that the canvas no longer bunches. Otherwise, you may need to rip out your stitches and start over. Keeping an even tension while stitching is always the best way to ensure you will have a nice even finish on your stitch piece.
Thread Pilling
Pro Tip: Stop your threads from tangling when you work by using shorter threads and tracking them with your fingers on the back of the canvas. A little mindfulness goes a long way when stitching needlepoint.
Share some of your common needlepoint mistakes and how to avoid them with your fellow stitchers. Learn from each other’s mishaps, and get new techniques for how to fix your projects. Join a community of stitchers willing to show you their skills and help you develop yours.