Finding ways to relax indoors may mean picking up a new craft or hobby. If the needlepoint bug has taken hold of you, and you are new to needlepoint, a quick guide to getting started is just what you need. Keep reading to uncover the basics of beginning a needlepoint project. We also offer an online needlepoint class to interested beginners who want to take their learning to the next level.
Gather Essential Items for Needlepoint
Before you begin your project, you’ll want to gather what you need for a needlepoint project. The best thing about needlepoint is that you don’t need much to enjoy this pastime. The most important items you will need include:
- Canvas: Choose a canvas design that motivates you to finish.
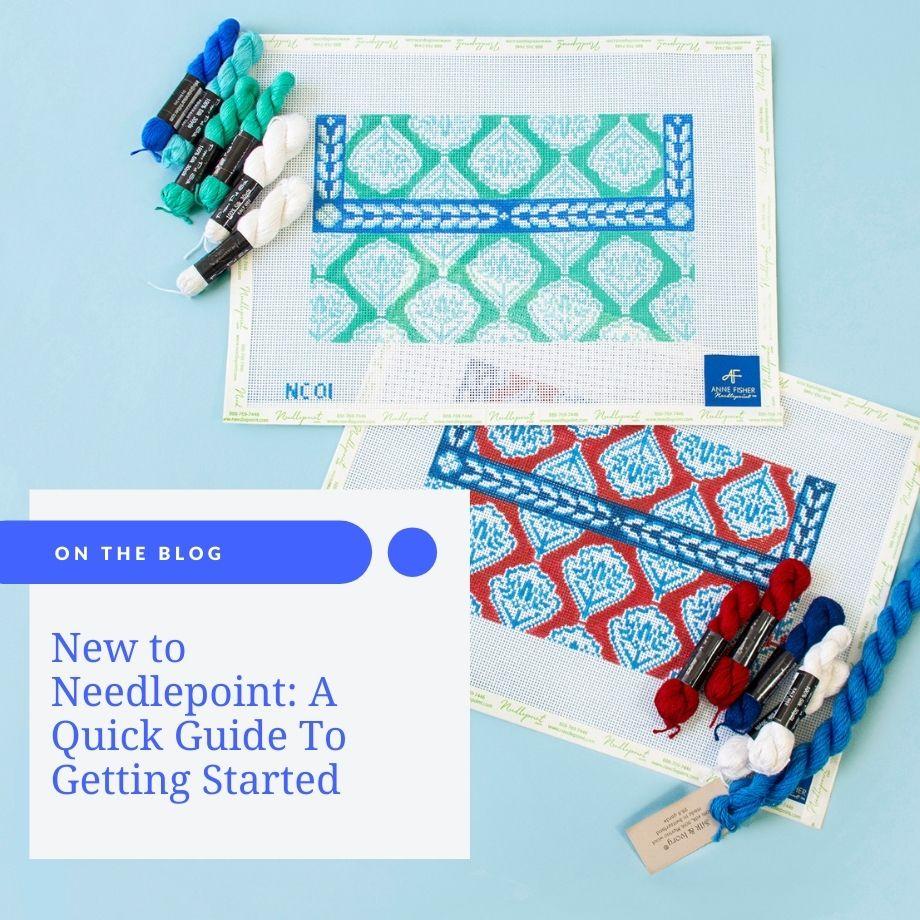
- Fibers: Knowing what threads to use for your canvas can be challenging. Needlepoint printed canvas kits from Needlepoint To Go include the right colors and threads you’ll need for your project.
- Needles: All Needlepoint.com projects come with a needle; however, it is always great to have extras, and we sell a whole assortment. For 18 count, we recommend a size 22 needle, and for 13 count, we recommend a size 20 needle.
- Scissors: It’s best to have a great pair of sharp embroidery scissors.
- Stretcher bars: Mounting your canvas with stretcher bars will make it easier to work with decorative stitches. You can hold the canvas better and prevent it from distorting your work. Check out our YouTube video here for more information.
Begin Your Needlepoint Project
Measure and Cut Threads
The first step to any needlepoint project is to prepare your threads. Choose which color to begin with and cut a length of thread about 18 inches—or the length from your fingers to your elbow.
Thread Your Needle
The easiest way to thread a needle is to fold the thread in half. Then, you can push the fold through the eye of the needle without any loose pieces getting in the way.
Starting Your Thread
On the end of the thread opposite the needle, tie a knot big enough to not go through the canvas mesh. The knot is known as a “waste knot” because you will get rid of it. About an inch from where you wish to begin your needlepoint, pull your needle down into the canvas from the front and place the waste knot on top of the canvas. You will stitch over the “tail” of the waste knot and then cut it away from the canvas.
Starting Additional Threads
You can begin additional threads from stitches on your canvas rather than making waste knots each time. Run your thread under several previous stitches on the back of the canvas to start stitches once your project is underway.
Ending Your Thread
Once you use up your thread or finish an area, you will tie it off or end your thread. To do so, flip the canvas over while the needle and thread are on the back. You should run your needle through some of your stitches a few times to secure it and then trim the excess.
So you’re new to needlepoint: a quick guide to getting started is the best way to learn the basics. Choose a design you love, gather the necessary materials, and practice. Needlepoint.com has many needlepoint kits to feed your passion. Shop our online collection today.


